The holiday season is upon us, and what better way to share the festive spirit than with personalized Christmas cards? If you’re short on time but still want to add a personal touch, printable cards are the perfect solution. In this blog post, I’ll walk you through the simple yet creative process of making your own Christmas cards using printable templates. Let’s get started on this delightful crafting journey!
This post contains some affiliate links and if you make a purchase through some these links, I may earn a small commission at no extra cost to you or the seller.
Materials Needed:
- Printable Christmas Card Templates (available online or design your own)
- Printer and Quality Paper or Cardstock
- Colored Markers, Pens, or Pencils
- Scissors
- Glue or Double-Sided Tape
- Festive Stickers and Embellishments
- Optional: Glitter, Ribbon, and Holiday-themed Stamps
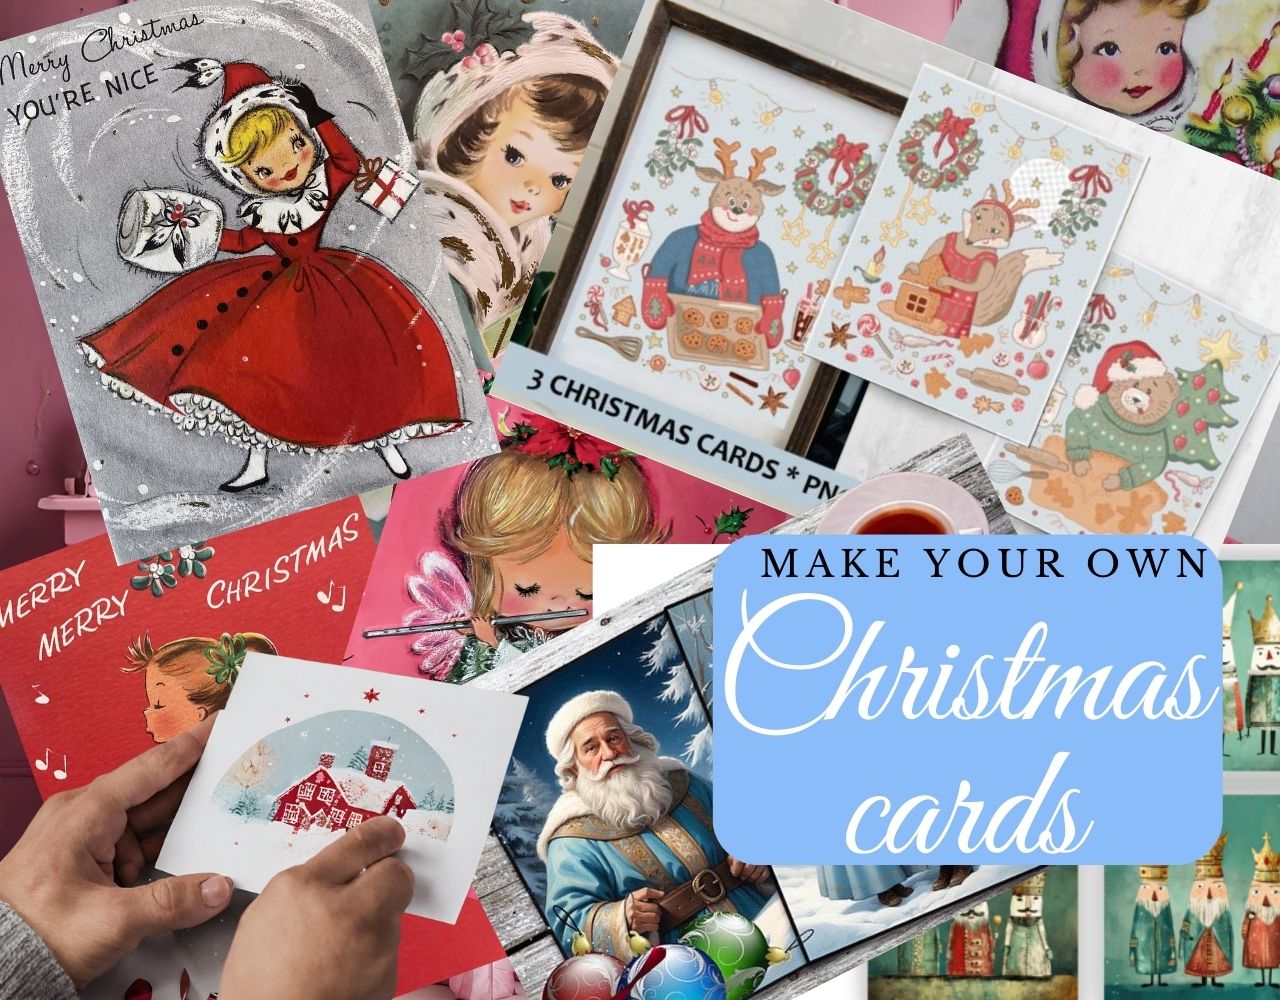
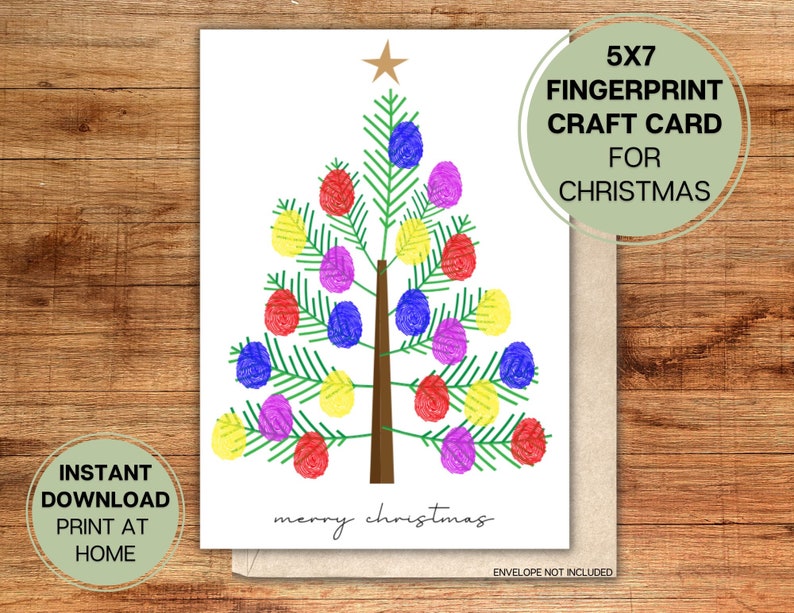
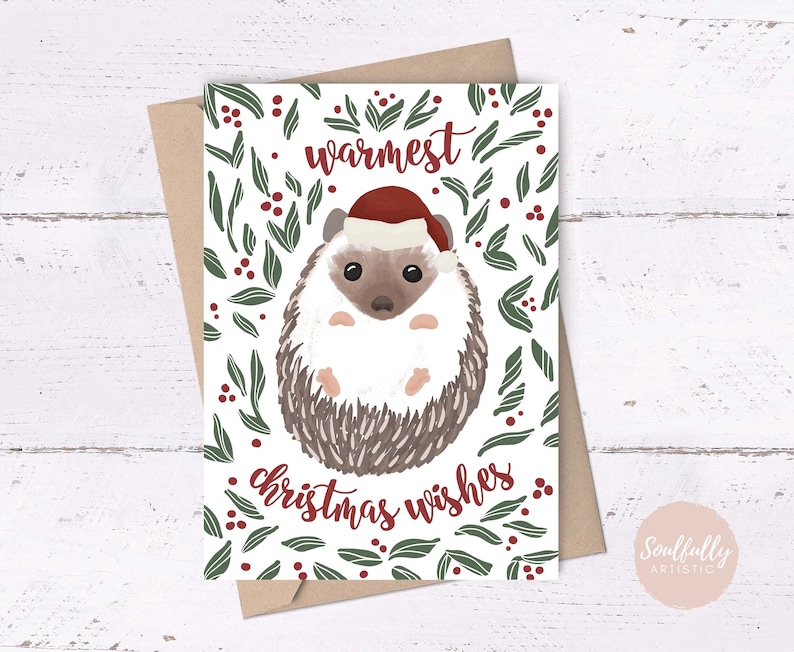
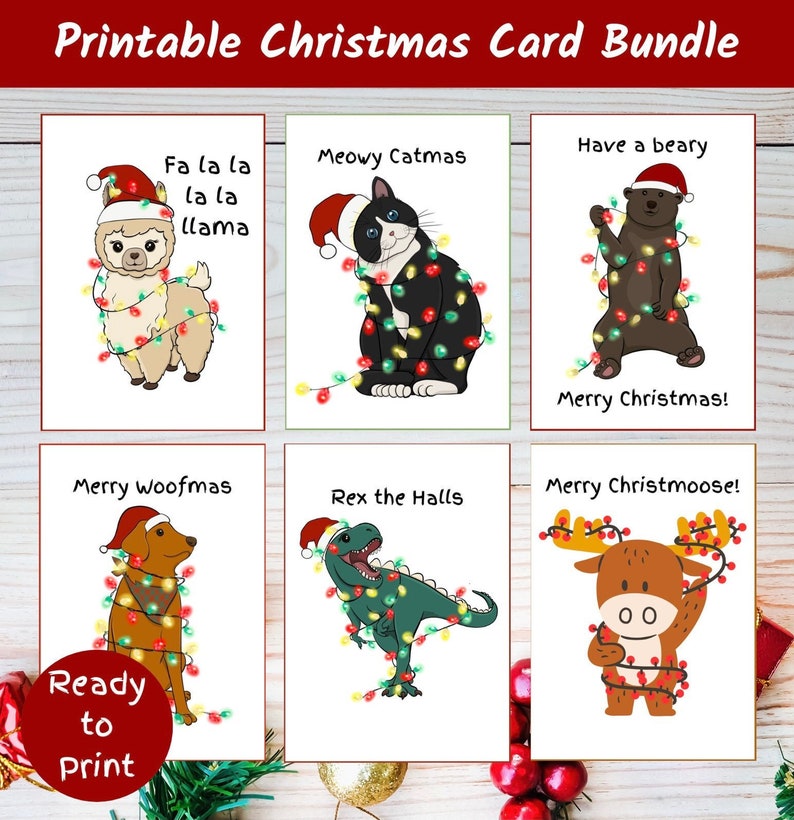
- Choose Your Printable Template: Select a printable Christmas card template that suits your style. This can be the hardest part, because there is simply so much choice!
Here are a few I have found:
2. Print Your Cards: Once you have decided what you want to download, (which could take a while!!) Load quality paper or card stock into your printer and print the chosen templates. I recommend you do a trial print with cheaper paper first. Adjust printer settings if needed to ensure optimal print quality.
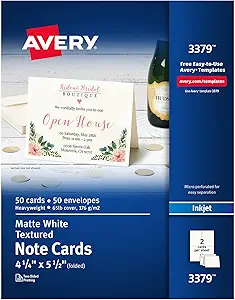
Amazon is a great place to get some nice printable card that won’t break the bank. Like these – Avery Printable Note Cards with Envelopes.
3. Personalize with Colors: Once printed, use colored markers, pens, or pencils to add a personal touch. Colour in elements of the design, write a heartfelt message, or even add doodles that reflect your holiday spirit.
4.Cut Along the Lines: Carefully cut out the printed cards along the designated lines. Take your time to ensure clean edges, as this step contributes to the polished look of your handmade cards.
5.Add Embellishments: Use glue or double-sided tape to affix the printed cards to the card stock. Embellish your cards with festive stickers, glitter, or small embellishments for an extra dash of holiday magic.
6. Quality Check and Send: Before sealing your cards, do a final quality check. Ensure all elements are securely attached, and there are no stray marks. Once satisfied, send your handmade creations to spread joy to friends and family.
Freebies: Don’t forget to check out my freebie, discounts and giveaway section, there you will find some Christmas printables.
