Instructions: Make your paper daisy
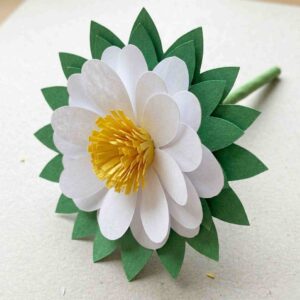
Some crafts never go out of style — This tissue paper daisy is one of those crafts: cheerful, forgiving, and surprisingly satisfying to make. A few strips of coloured tissue paper, a green cane, and about an hour of your afternoon is all it takes.
What You’ll Need
Cut the yellow strips
Cut eight strips of yellow tissue paper, each 5 cm wide × 51 cm long. Tissue paper tears easily, so use sharp scissors and cut slowly along a folded edge if possible.

Fringe one long edge
Fold each strip several times along its length to make it more manageable. Then cut a fine fringe along one long edge — snipping every few millimetres without cutting all the way through. When unfolded, you’ll have a feathery, pom-pom ready strip.
Wind around the cane top
Starting at the very tip of your green cane, coil each fringed strip tightly around the top, fringed side facing outward. Secure each strip with a small piece of clear tape as you go. The yellow fringe will fan out beautifully to form the daisy’s centre.
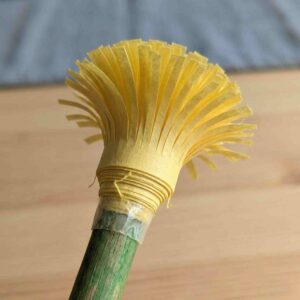
Crafter’s tip Dampen your fingertip slightly as you wrap — it helps the tissue grip the cane and sit more neatly without bunching.
Cut the white squares
Cut three squares of white tissue paper, each 30 cm × 30 cm. These will each become one layer of petals.
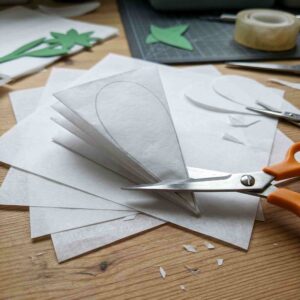
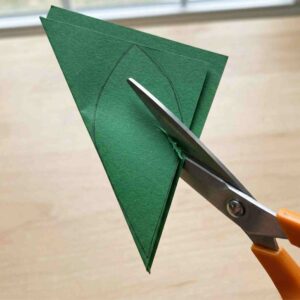
Fold into a triangle
Fold each square in half to make a rectangle, then fold in half again to make a smaller square. Finally, fold diagonally corner-to-corner to create a triangle. All three layers are now stacked together.
Draw, cut & snip the centre hole
Draw a rounded petal shape on the triangle — the point of the triangle becomes the centre of your flower, and the curved edge becomes the outer petal tips. Cut along your drawn line. Then snip just the very tip of the point off to create a small hole for the cane.
Thread onto the cane
Gently slide each circle of white petals up the cane so they sit snugly beneath your yellow fringe centre. Fan the layers out slightly to give depth. Secure with a small piece of tape around the cane.

Cut the green squares
Cut two squares of green tissue paper, each 25 cm × 25 cm.
Fold & cut leaf shapes
Fold each green square using the same method as the petals. Draw a leaf shape (pointed and slightly elongated rather than round), cut it out, and snip the very tip off the pointed end to create the centre hole.
Thread the leaves onto the cane
Slide the green leaf layers up the cane so they sit beneath the white petals, fanning out to frame the flower from below. Secure with tape.
Finish the stem neatly
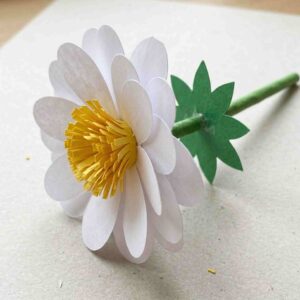
Wrap strips of green tissue paper around the cane just beneath the leaves, covering any visible tape with a clean spiral wrap. A tiny dab of glue on the end will keep it from unravelling. Your daisy is now complete.
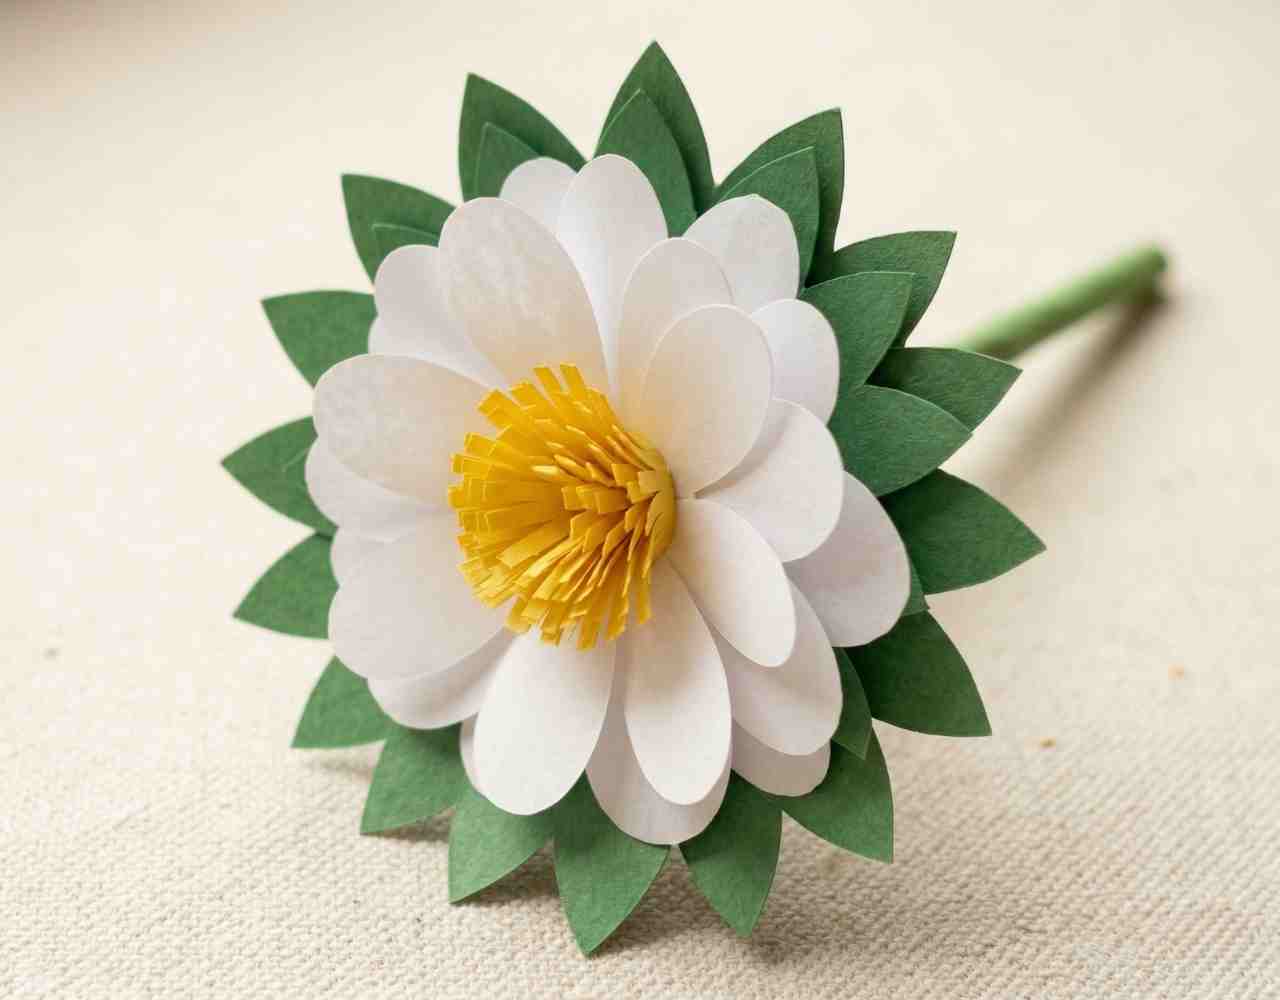
Happy blooming!
These daisies look wonderful in a vase, tied into a bouquet for a birthday, or massed together in a jar for a centrepiece. Make a bunch in mixed colours — lilac and lemon, pink and cream — and they’re genuinely hard to tell from the real thing at a glance.